


Transplanting Made Simple
From crowded spaces to perfect places


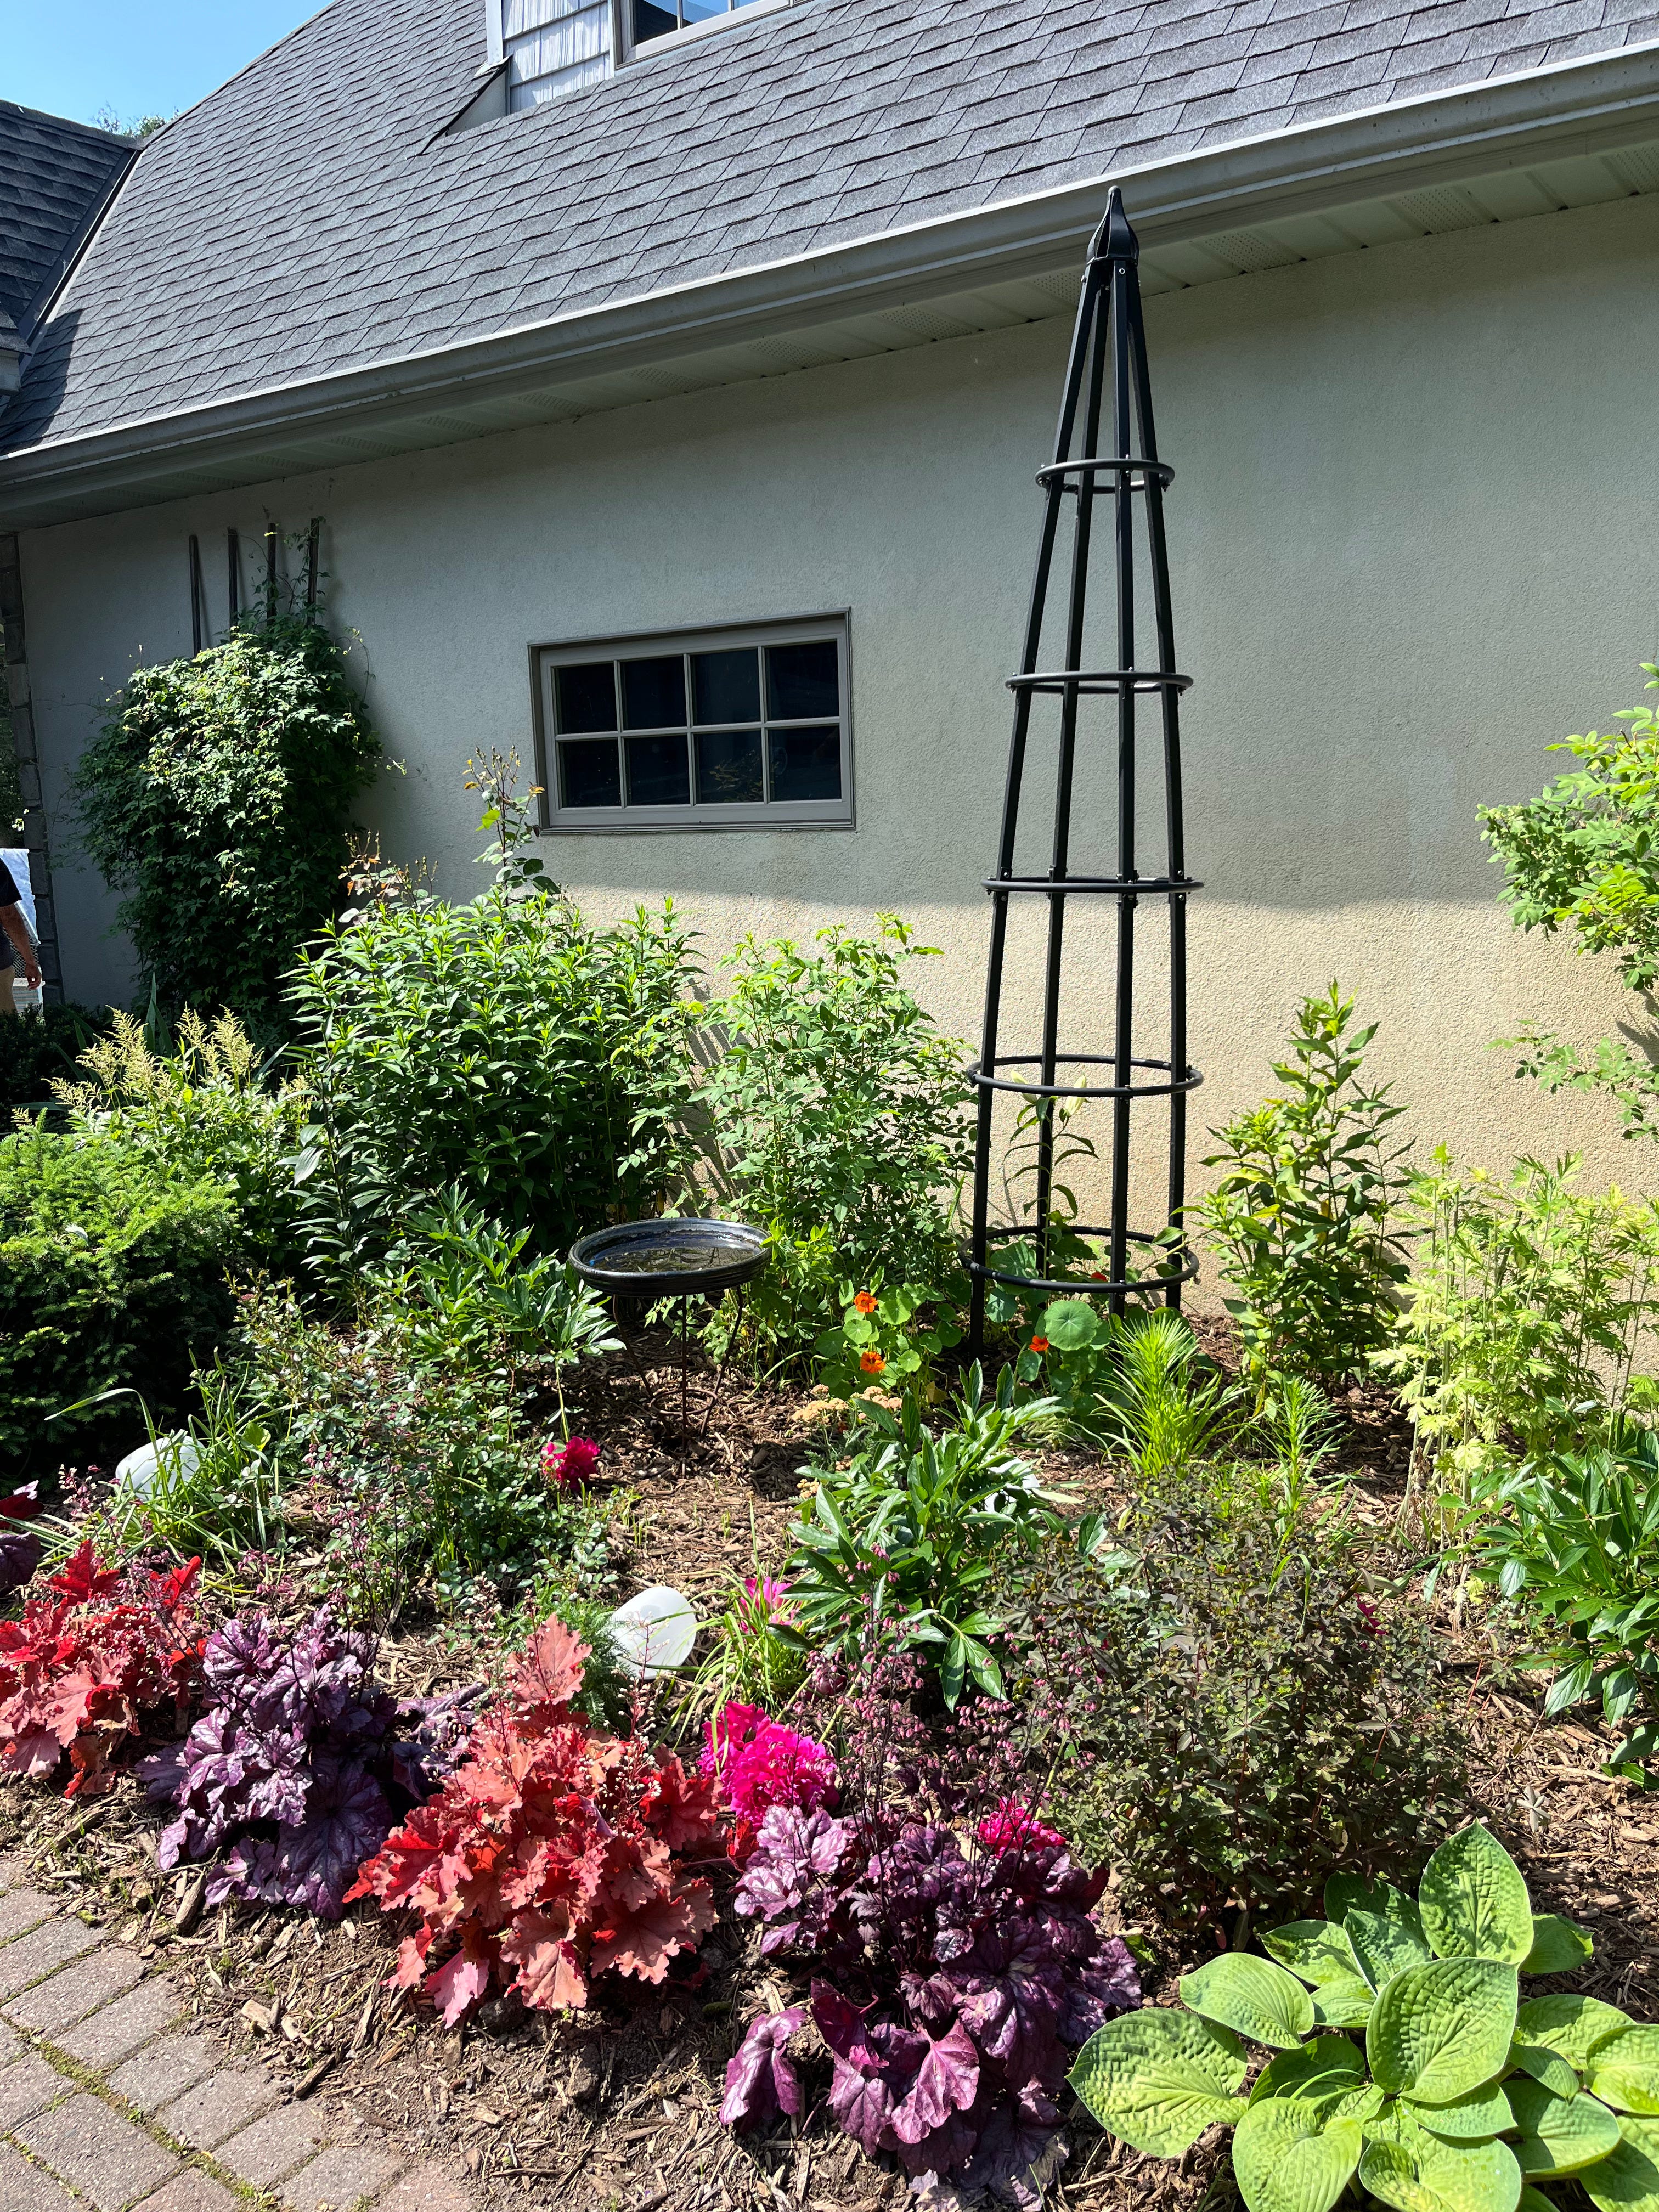
Gardening often involves a bit of rearranging to help plants thrive, and transplanting is a key skill for any gardener. In the video, we moved vibrant nasturtiums from a crowded salad garden to a decorative trellis. This post provides a universal guide to transplanting plants. If you're making space for other crops or giving a plant a better spot to flourish, these steps will ensure a smooth transition for your greenery.
Step-by-Step Instructions for Transplanting Plants
Step 1: Choose the Right Time and Plant
Select a healthy plant for transplanting. Ensure it's strong enough to handle the move. Transplant early in the morning or late in the afternoon to minimize stress from heat. Avoid transplanting during extreme weather conditions.
Step 2: Prepare the New Location
Choose a new spot that suits the plant's needs (e.g., sunlight, drainage, and space requirements). Prepare the area by loosening the soil and ensuring it's suitable for the plant's growth. For vining plants, consider adding a support structure like a trellis.
Step 3: Dig Out the Root Ball
Carefully dig around the base of the plant to loosen the root ball, using a trowel or shovel. Aim to keep as much of the root system intact as possible. Gently lift the plant by the base of the stem to avoid damaging the roots or foliage.
Step 4: Prepare the Soil in the New Location
Dig a hole slightly larger than the plant's root ball. If the soil quality is poor, dig deeper to allow for nutrient-rich backfill. Mix in a soil supplement, such as bone meal, to encourage root development. A general guideline is one cup of bone meal per gallon of fresh soil.

Step 5: Transplant the Plant
Place the plant's root ball into the prepared hole, ensuring it sits at the same depth as in its original location. Backfill the hole with a mix of fresh soil and supplement, gently pressing down to remove air pockets and secure the plant.
Step 6: Water Thoroughly
Water the plant generously after transplanting to help it settle and encourage root-to-soil contact. Continue to water regularly over the next few weeks to support the plant's adjustment to its new environment.
Step 7: Monitor and Maintain
Observe the plant for signs of stress over the next few weeks, adjusting care as needed (e.g., watering, shading, or additional nutrients). With proper attention, the plant should establish itself and thrive in its new spot.
Final Thoughts
Transplanting plants, like the nasturtiums we recently moved to a trellis, is a simple yet impactful way to optimize your garden's layout and health. By following these steps, you can confidently relocate any plant to give it the best chance to grow and beautify your space. Happy gardening!
Discover the Collection Showcased in the Story
Each week, we’ll share our favorite products from our affiliate vendors.


We have partnered with a select group of resources, which means we may receive a small commission, at no additional cost to you. We only recommend products we trust and believe will be beneficial to our readers. For a complete list of our vendors, please click here for our Linktree.
Cari Ann Carter is a multi-faceted entrepreneur whose passion for sustainable living and design has flourished across several successful ventures. As the creative force behind DIY Designer Homestead, she has cultivated an expanding Instagram following through her authentic home design content, organic gardening expertise, and signature floral arrangements. Her professional foundation rests on the Cari Ann Carter Group, a respected real estate company with 26 years of experience offering comprehensive design, build, and renovation services, as well as property staging and curated home events.
Cari Ann is now expanding her vision with the launch of Fresh Roots Living.